Where to Find It
- Click the Settings icon in the bottom-left corner
- Select Org Structure from the sidebar
Sales Territories
Territories represent the regions or markets your team sells into — the same territories referenced elsewhere in the CRM (contact/opportunity filters, workspace defaults, and Org Structure profile fields). The main view shows territories in a nested structure — a top-level Global territory with child territories like APAC, EMEA, and North America underneath it. Each row has a ⋯ menu for further actions. Click + Add Territory, then fill in:- Territory Name (required)
- Parent Territory — select None (Root Level) to create a top-level territory, or choose an existing territory to nest it underneath
Access Roles
Access Roles define what a person can see and do across every module — this is the permission layer that designations and team members get assigned to. Quantum Heaps ships with five built-in roles:
Click View Permissions on any role to see its exact module-level access, or use the pencil/trash icons on custom roles to edit or delete them (built-in roles like Admin and Creator don’t show these icons, since they can’t be modified).
Click + Add Permission to create a custom role:
- Enter a Role Name (e.g., Sales Manager) and a Description of the role’s responsibilities
- Use Search modules or permissions to jump to a specific module, or scroll through the full list
- For each module (Contacts, Accounts, etc.), check the specific permissions to grant: View, Add, Edit, Delete, Export, Import, or All
- Click Save to create the role, or Discard to cancel
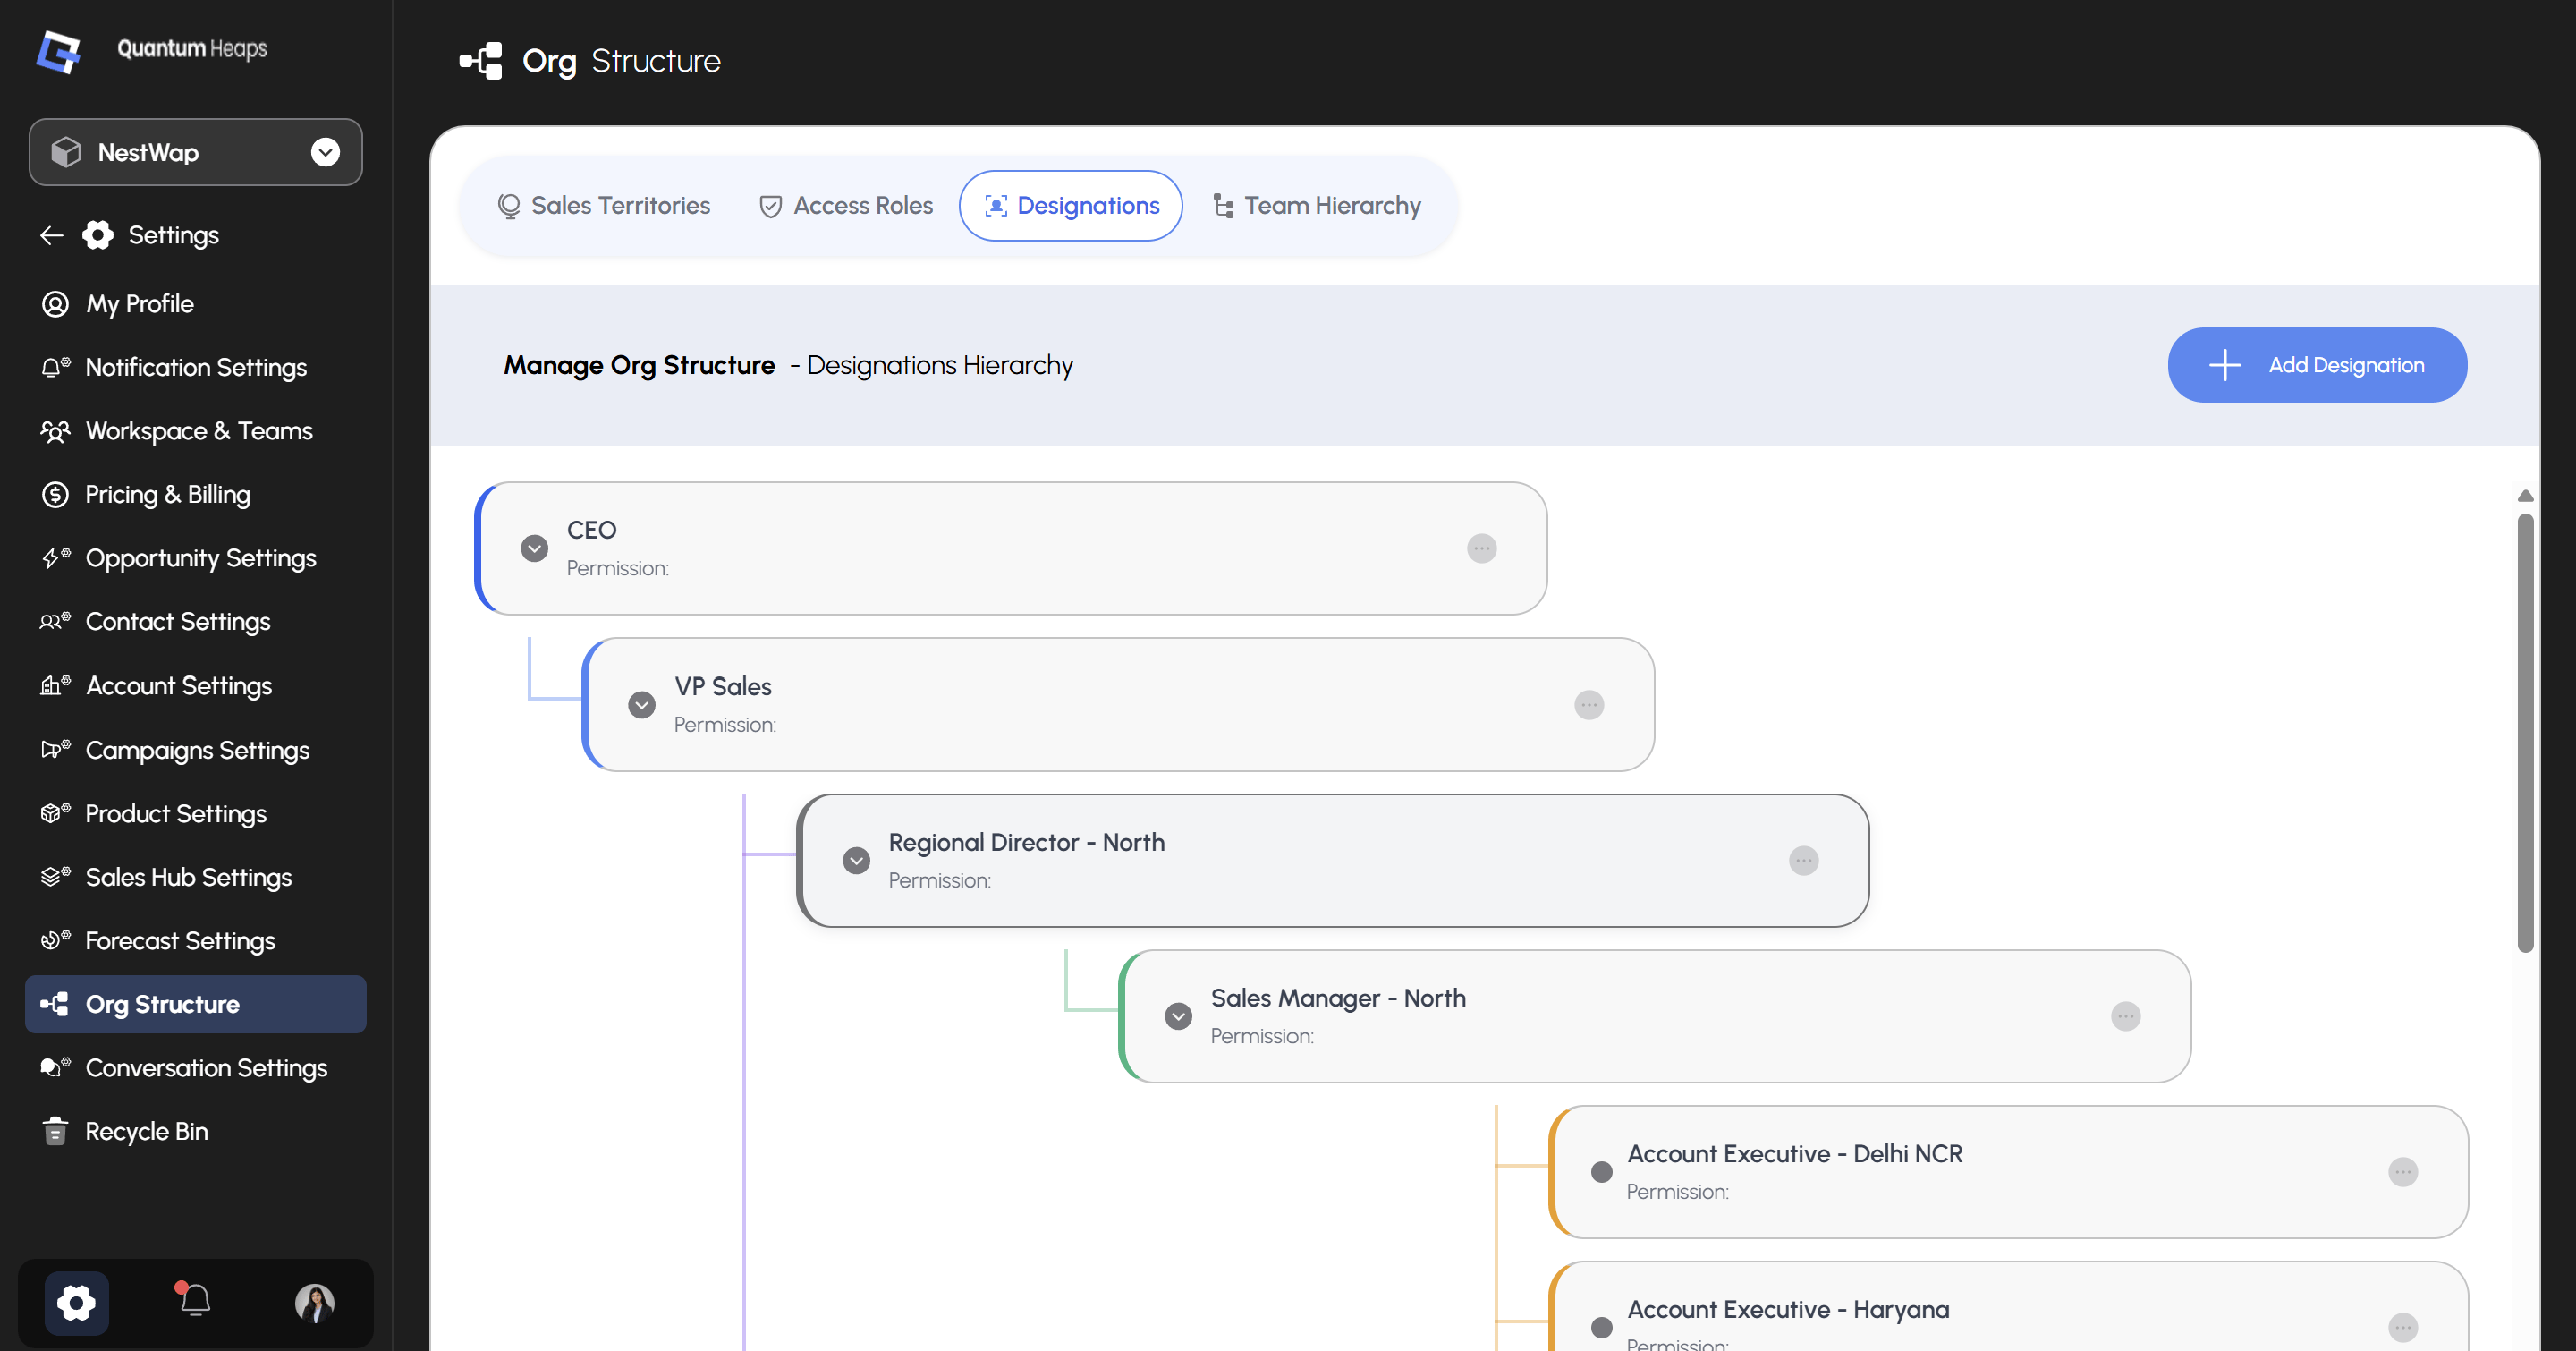
Designations
Designations represent job titles within your organization (e.g., CEO) and link a title to a reporting line and an access role — this is what actually determines a person’s permissions once assigned. The main view lists existing designations (e.g., CEO, Demo Designation), each showing its assigned Permission profile. Click + Add Designation, then fill in:- Designation Name (required)
- Same as Designation Name — checked by default, meaning the role label matches the designation name; uncheck if you want to name them differently
- Reports To — select None (Root Level) for a top-level designation, or choose an existing designation it reports into
- Access Role — choose which permission profile this designation inherits
- Territory Access — select which territories this designation can access
Team Hierarchy
Team Hierarchy is a visual org chart showing who reports to whom, built from actual team members rather than just designations. Each card shows the person’s name, avatar, and designation (e.g., Anurag Mukherjee — Creator, reporting up to Sayonika Bhattacharjee — CEO, Admin). Use the zoom controls (–, %, +, and the focus icon) to adjust the view, and click + Add Team Member to invite someone directly into the hierarchy.Adding a Team Member
From + Add Team Member, fill in across the form:- Email Address of the Team Member
- This Team Member will report to — choose their reporting manager
- Designation of the Team Member
- Territory of the Team Member
- Role