What Happens When You Onboard
- Sign in with Google or your email address
- Set up your profile — name, photo (optional), email address, phone number (optional)
- Verify your email with a one-time passcode
- Join an existing workspace in case your team has set up, or create your own from the ground up.
Step 1: Log In
On the login screen, choose one of two ways to get started:- Continue with Google — sign in instantly using your Google account
- Email address — enter your email and click Continue
.png?fit=max&auto=format&n=-jQYdYtpsW7ToMeo&q=85&s=266ec61bd060d245a667efc680568c0a)
Step 2: Create Your Profile
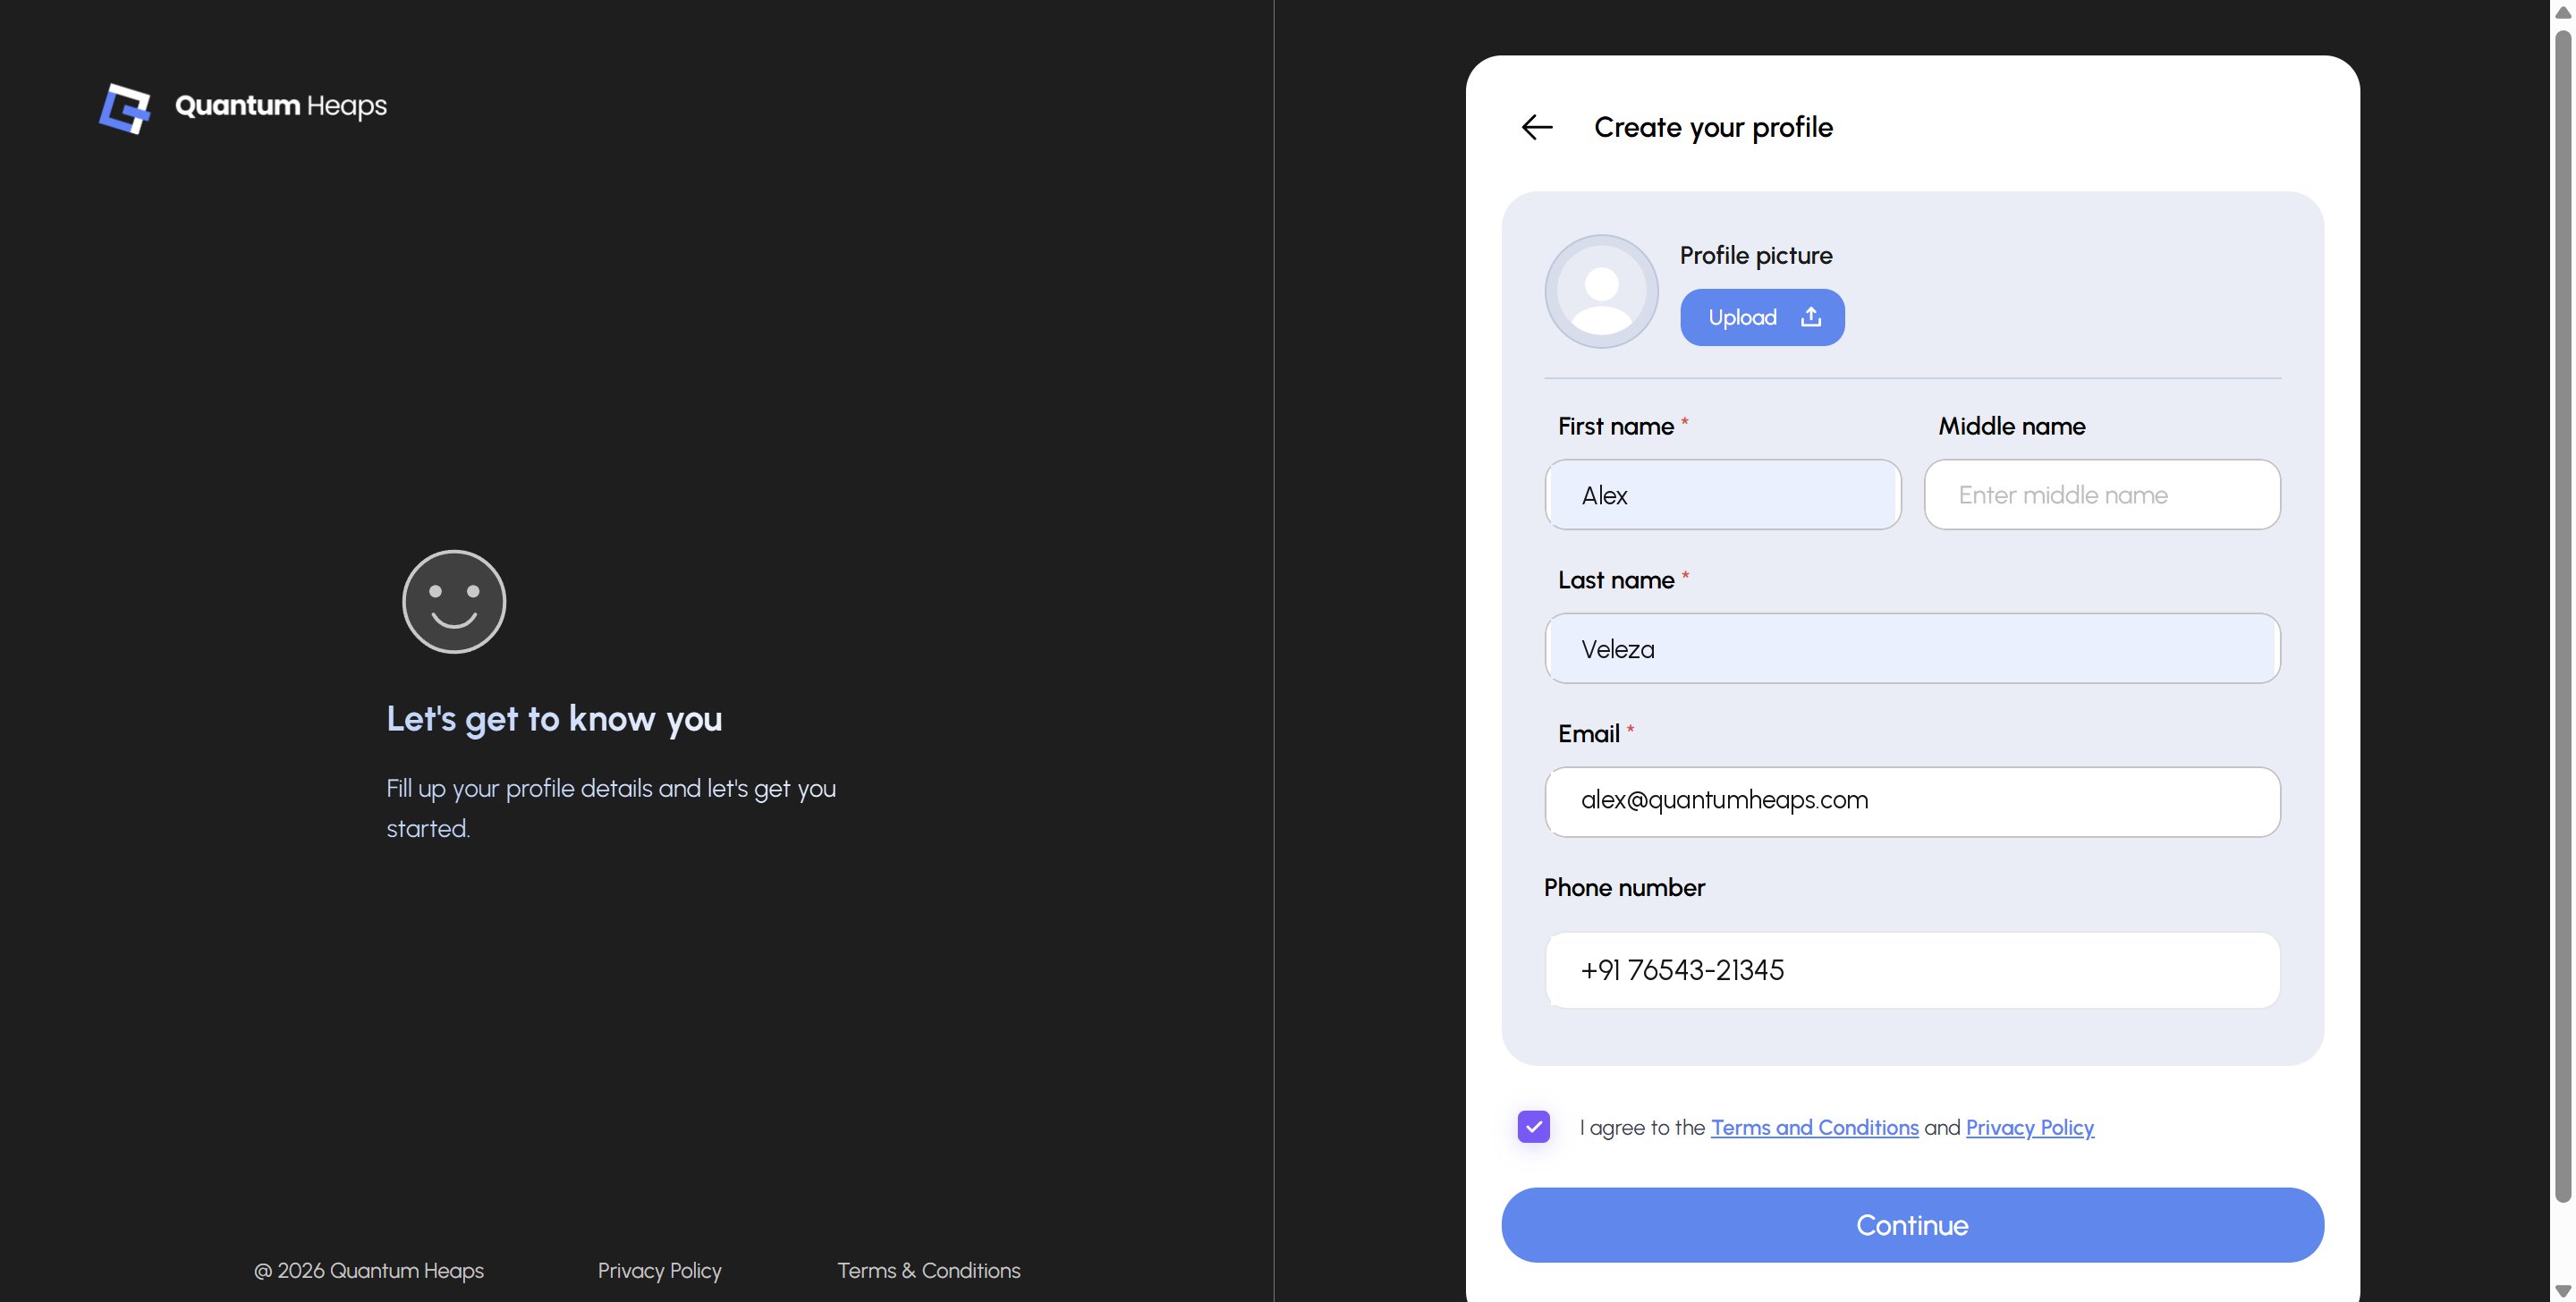
Fill in your profile details:- Profile picture — optional, upload one if you’d like
- First name and Last name — required
- Middle name — optional
- Email — pre-filled from the login step
- Phone number — optional, select your country code and enter your number
Step 3: Join or Create a Workspace
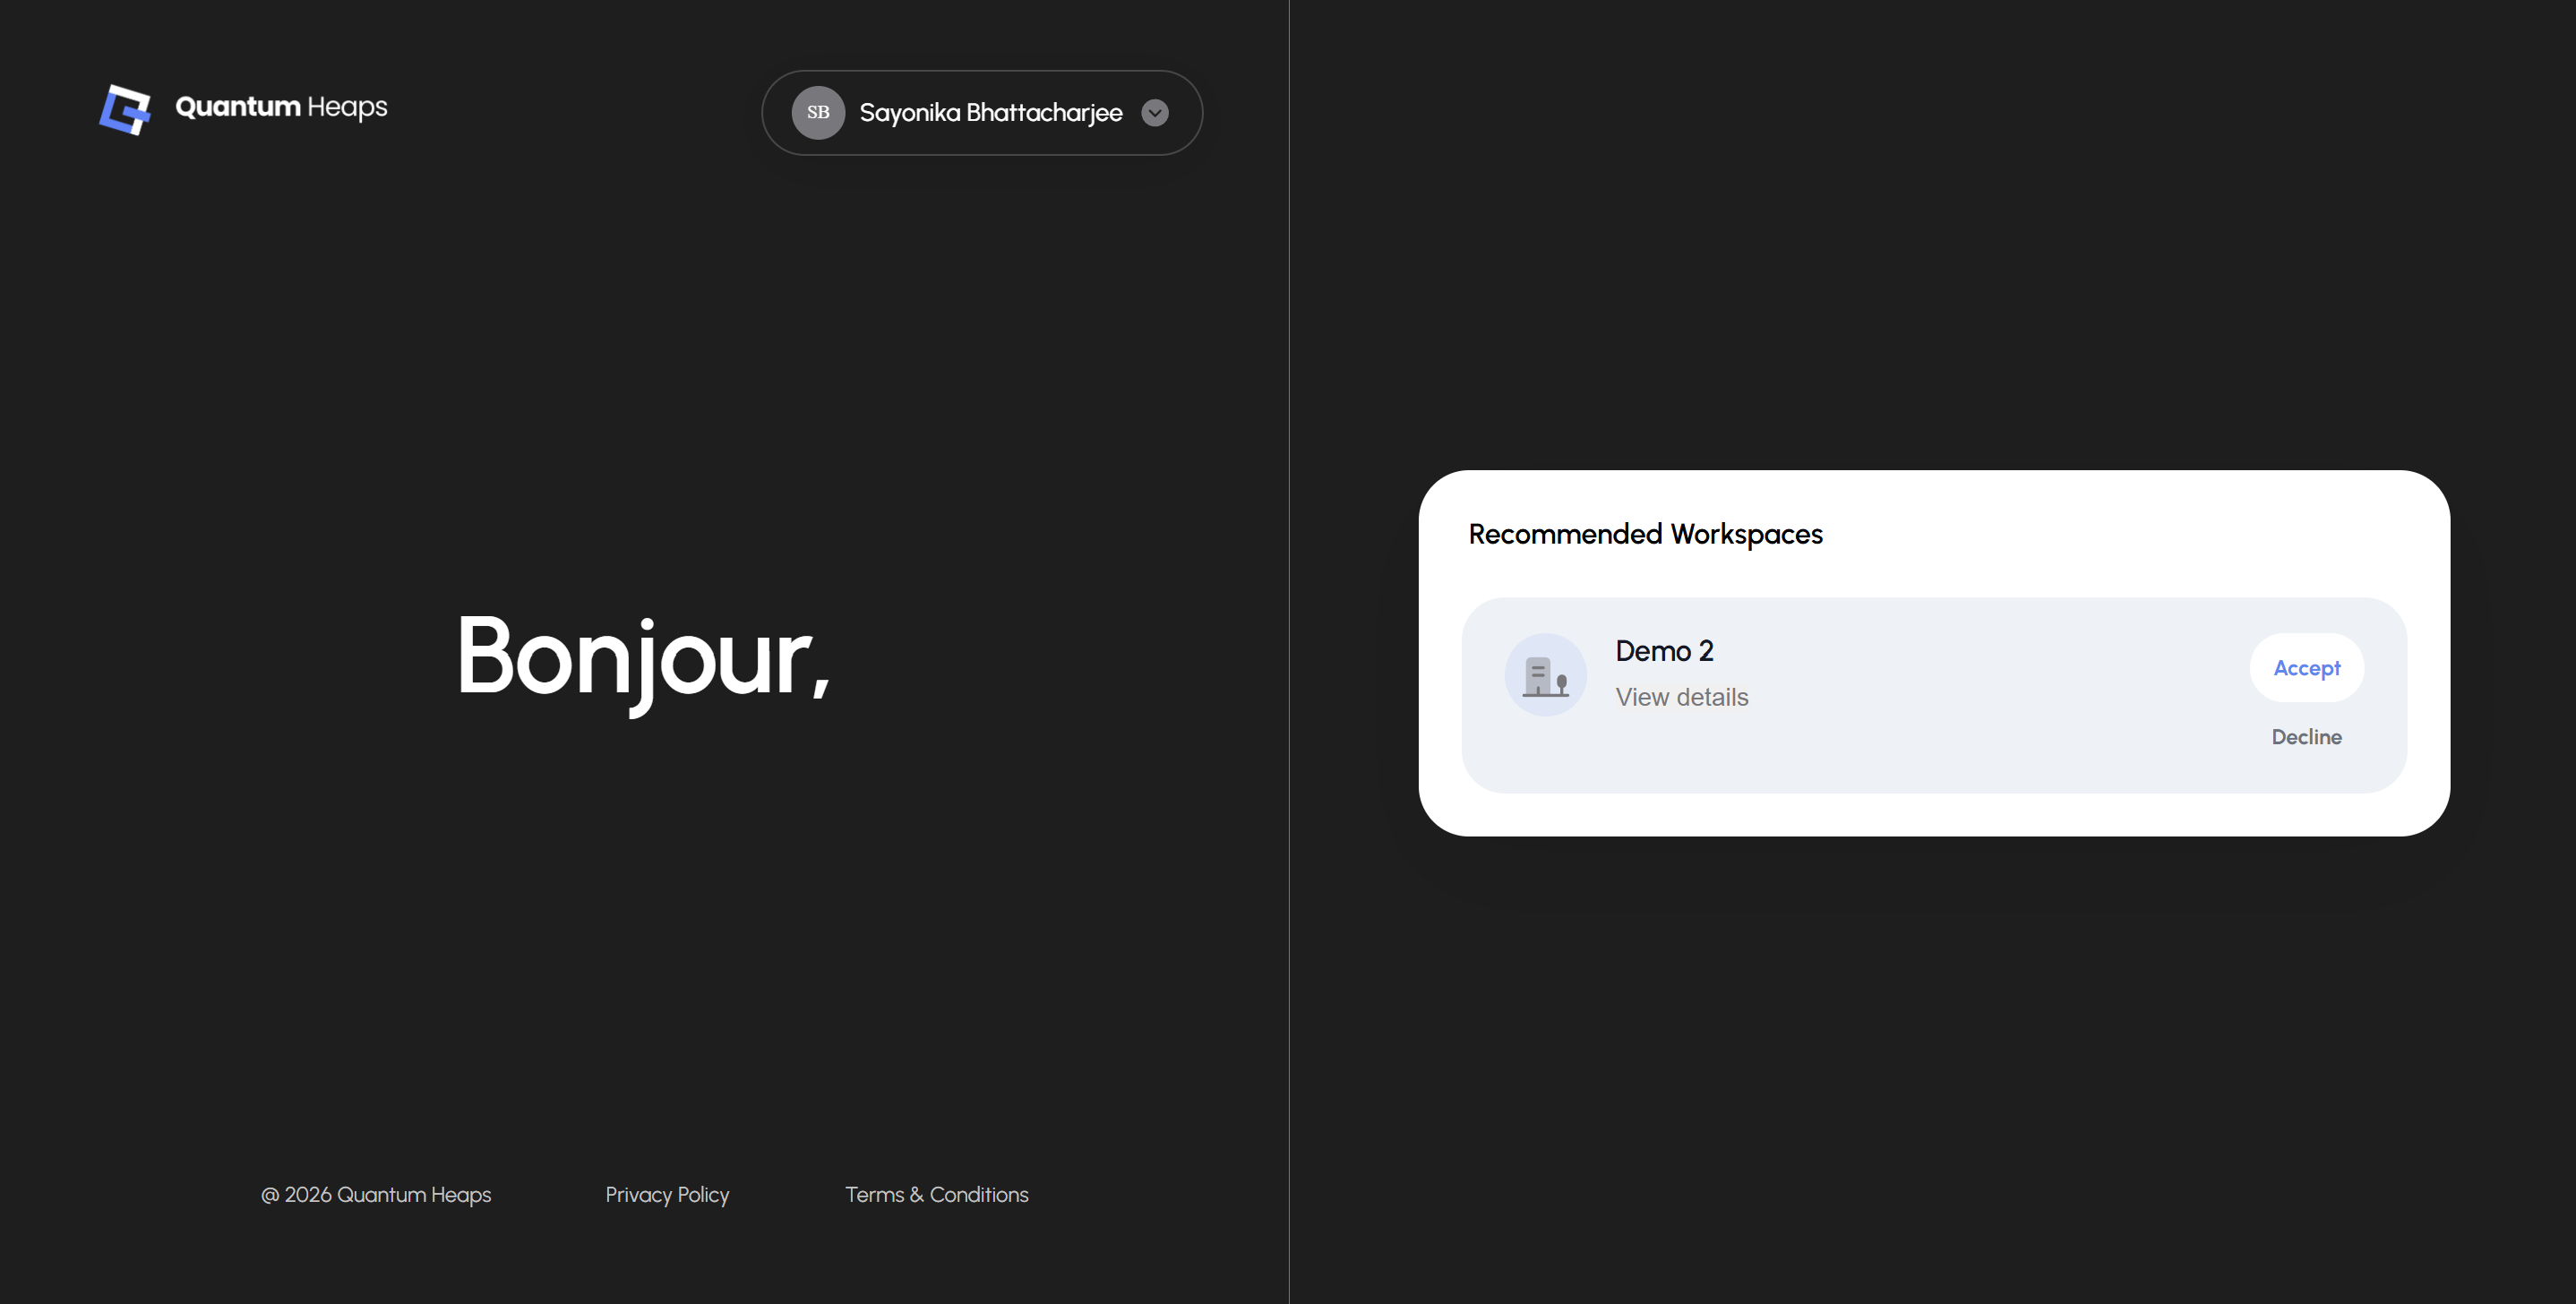
Once verified, you’ll land on your workspace screen. If your email matches an invitation or a recommended workspace, you’ll see it listed here:- Click View details to learn more about the workspace before deciding
- Click Accept to join it
- Click Decline if it’s not the right one