What Accounts Are Used For Use the Account module to:
- Track company-level details — name, industry, headcount, address, website, and more
- See every contact, opportunity, file, and conversation tied to that company in one place
- Move accounts through pipeline stages as they progress from lead to customer
- Assign ownership and collaborate with teammates on the same account
- Keep a full audit trail of every change and activity on the record
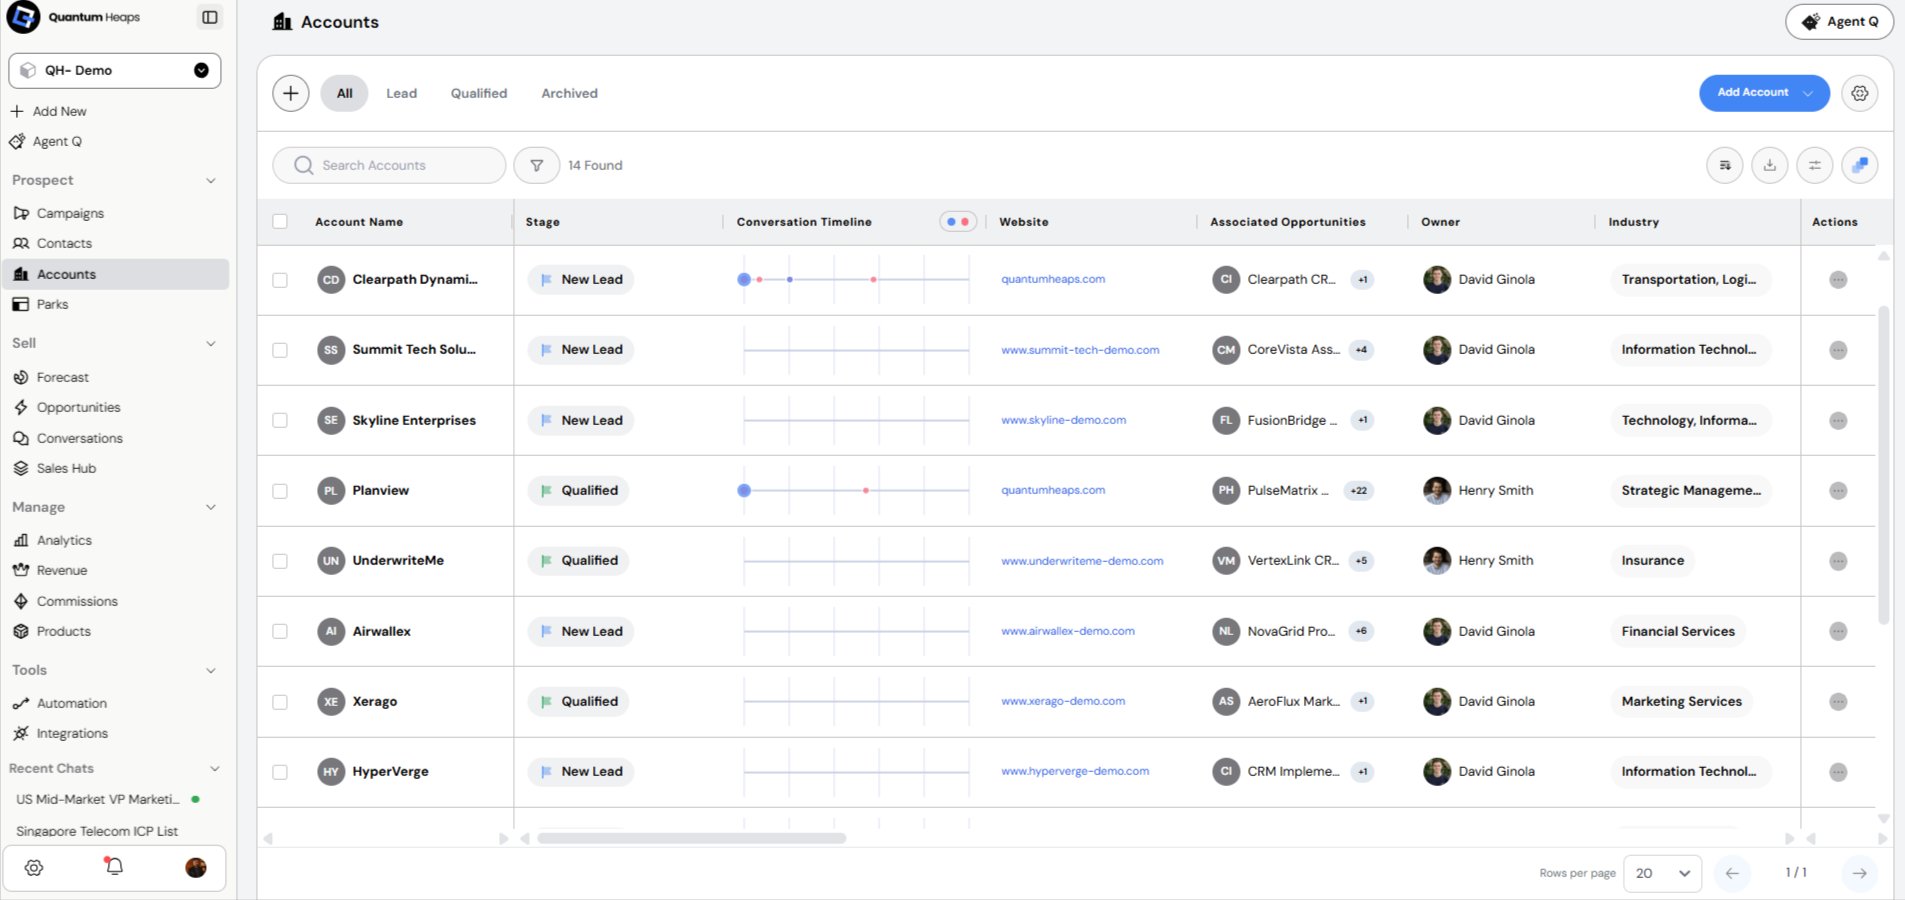
Creating an Account
There are three ways to add an account:- Find Company
Search an external company database by name, website, employee count, revenue, location, or technologies used. Select a match and Quantum Heaps pulls the company’s data straight into a new account — no manual typing required. - Add Manually
Click Add Account, then fill in the required fields — Account Stage and Account Name. Optionally add Website, Account Type, Phone, Email, Address, LinkedIn, Year Founded, Headcount, Industry, and any custom fields your workspace has set up. You’re auto-assigned as the owner. Use Save & Add Another to keep creating accounts one after another. - Import from a File
Upload a CSV, XLSX, or XLS file (up to 5 MB) as either Accounts & Contacts or Accounts & Opportunities, then map your file’s columns to account fields to complete the import.
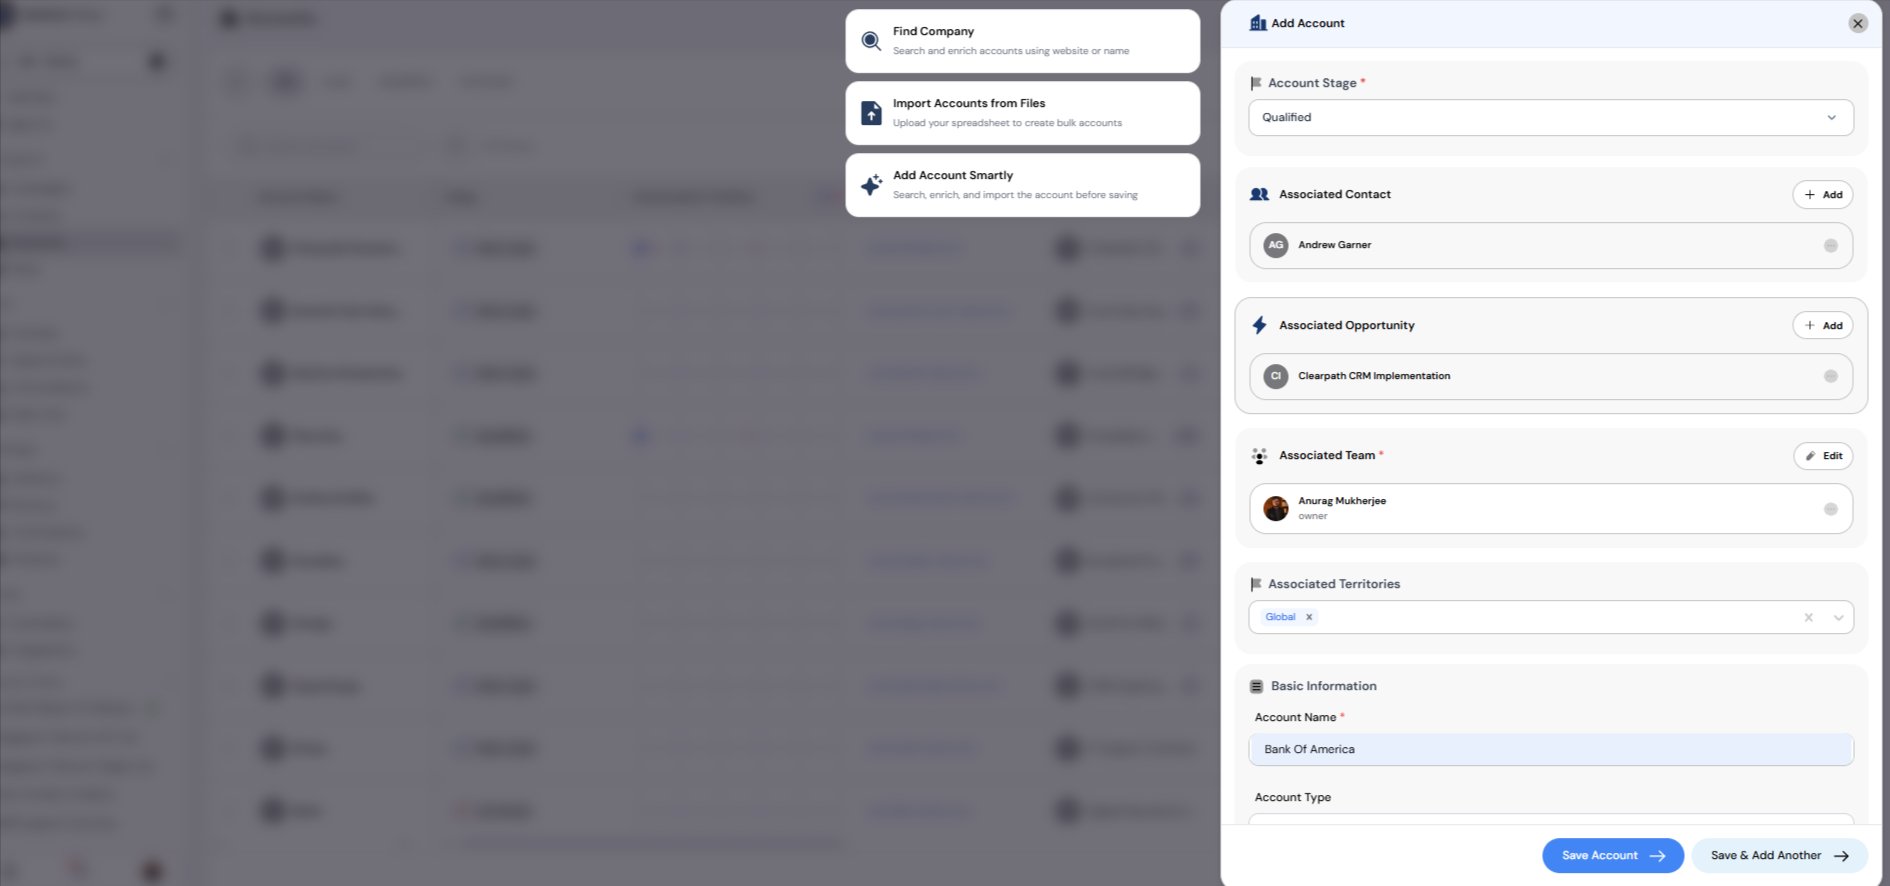
Viewing and Managing Accounts
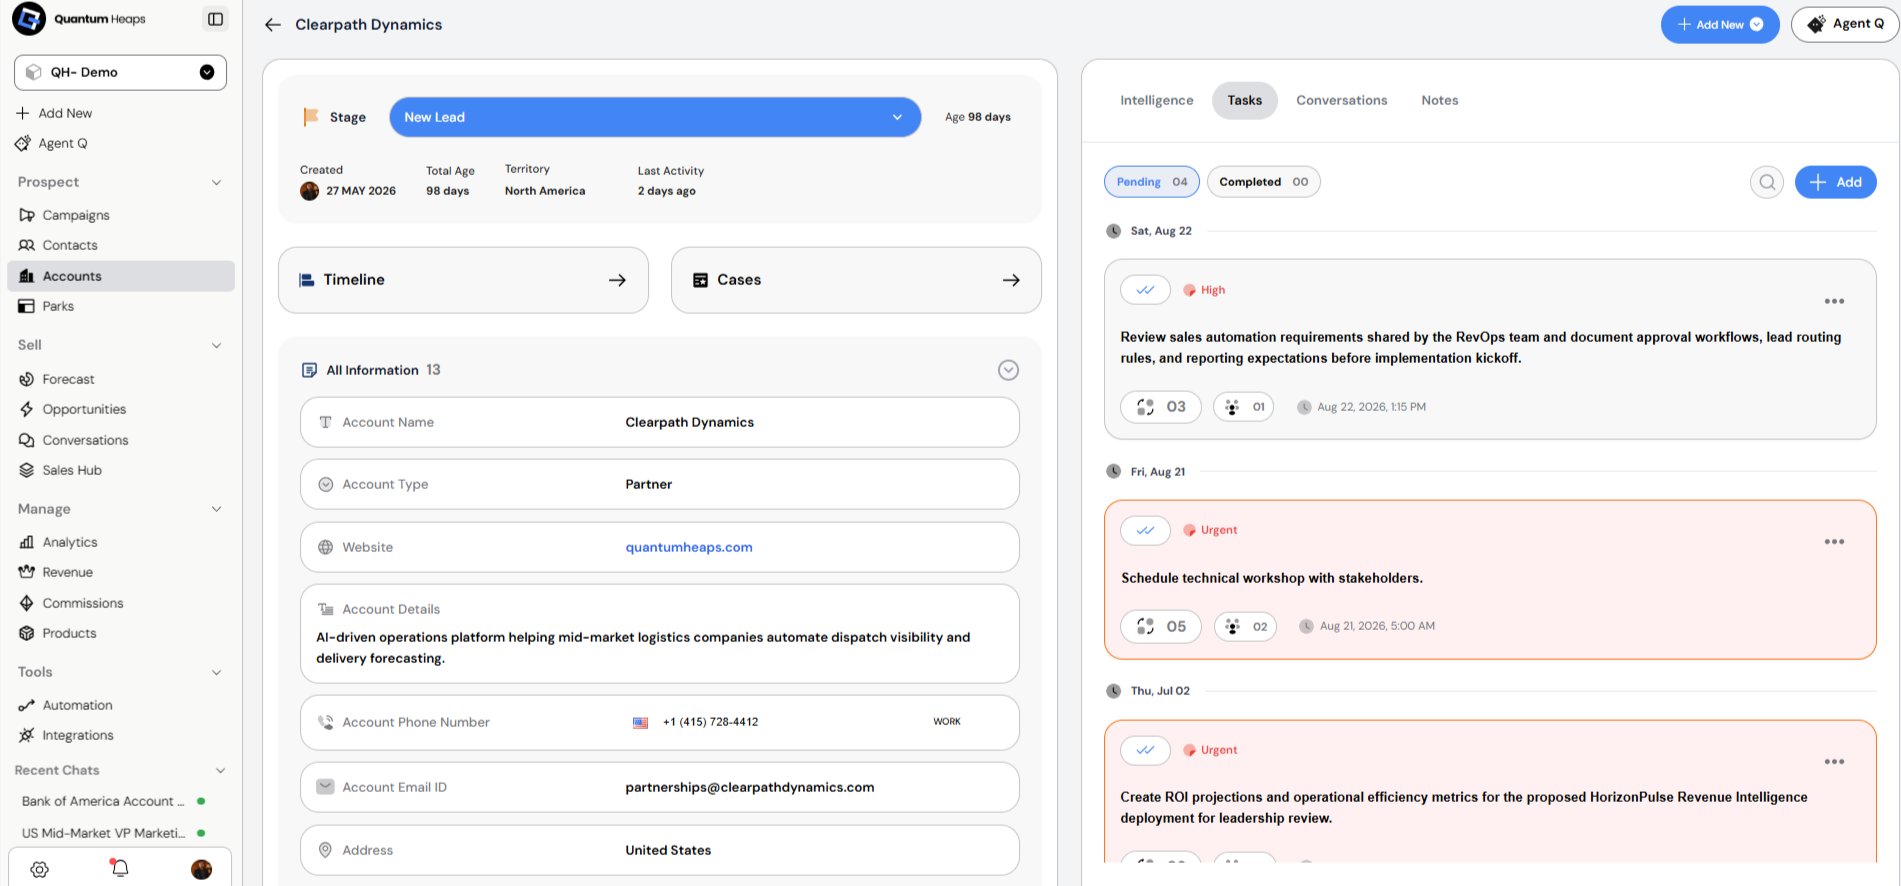
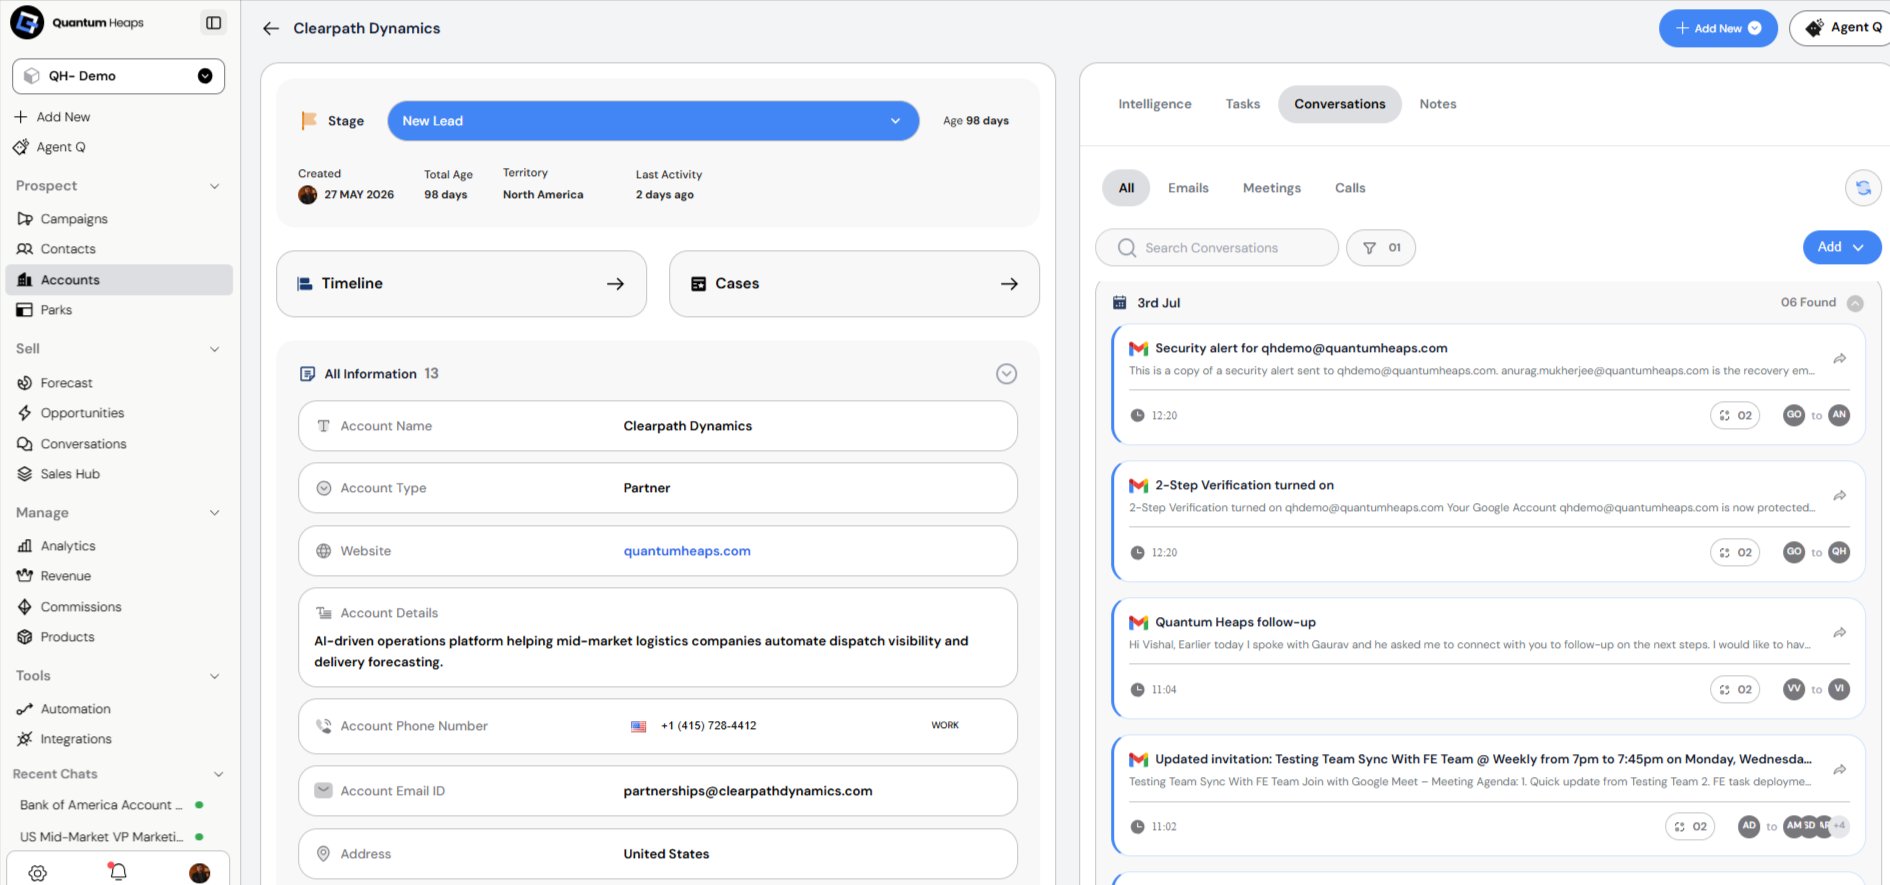
Open any account to see:- Header — current stage (click to update it directly), age, territory, and last activity, at a glance
- All Information — every active account field (Name, Website, Industry, Address, Headcount, Year Founded, Account Type, and any custom fields), each editable inline
- Associated Contacts — everyone linked to this account, with role tags like Primary Contact
- Associated Opportunities — every deal tied to this account, with its current stage
- Associated Team Members — who owns and works this account
- Associated Files — anything uploaded to the account, with download and delete options
- Tasks, Cases, Conversations, Notes — activity tabs on the right panel
- Timeline — a complete history of every field change, association, and activity logged against the record
Email & Meeting Sync Into Account:-
- Accounts :- Sync is based on the domain in the account’s Website field. Any conversation exchanged with an email address matching that domain is synced to the account — regardless of which specific person at that company was involved. This means all conversations with anyone on that domain appear at the account level, not just those tied to a saved contact.
How Accounts Relate to Contacts and Opportunities
- Contacts represent the people at that company
- Opportunities represent the deals tied to that company
- The contact marked Primary Contact on an account can’t be removed while it holds that label.
- An account can’t be deleted while it still has an opportunity linked to it — you’ll need to unlink or resolve the opportunity first.
Standard and Custom Fields
Every account comes with 18 default fields (Name, Website, Industry, Address, Headcount, and more). Admins can control which of these are active and required from Account Settings → Fields. You can also add custom fields to match your own sales process — for example, Tier, Segment, or Priority — and set field-level permissions per role at the same time.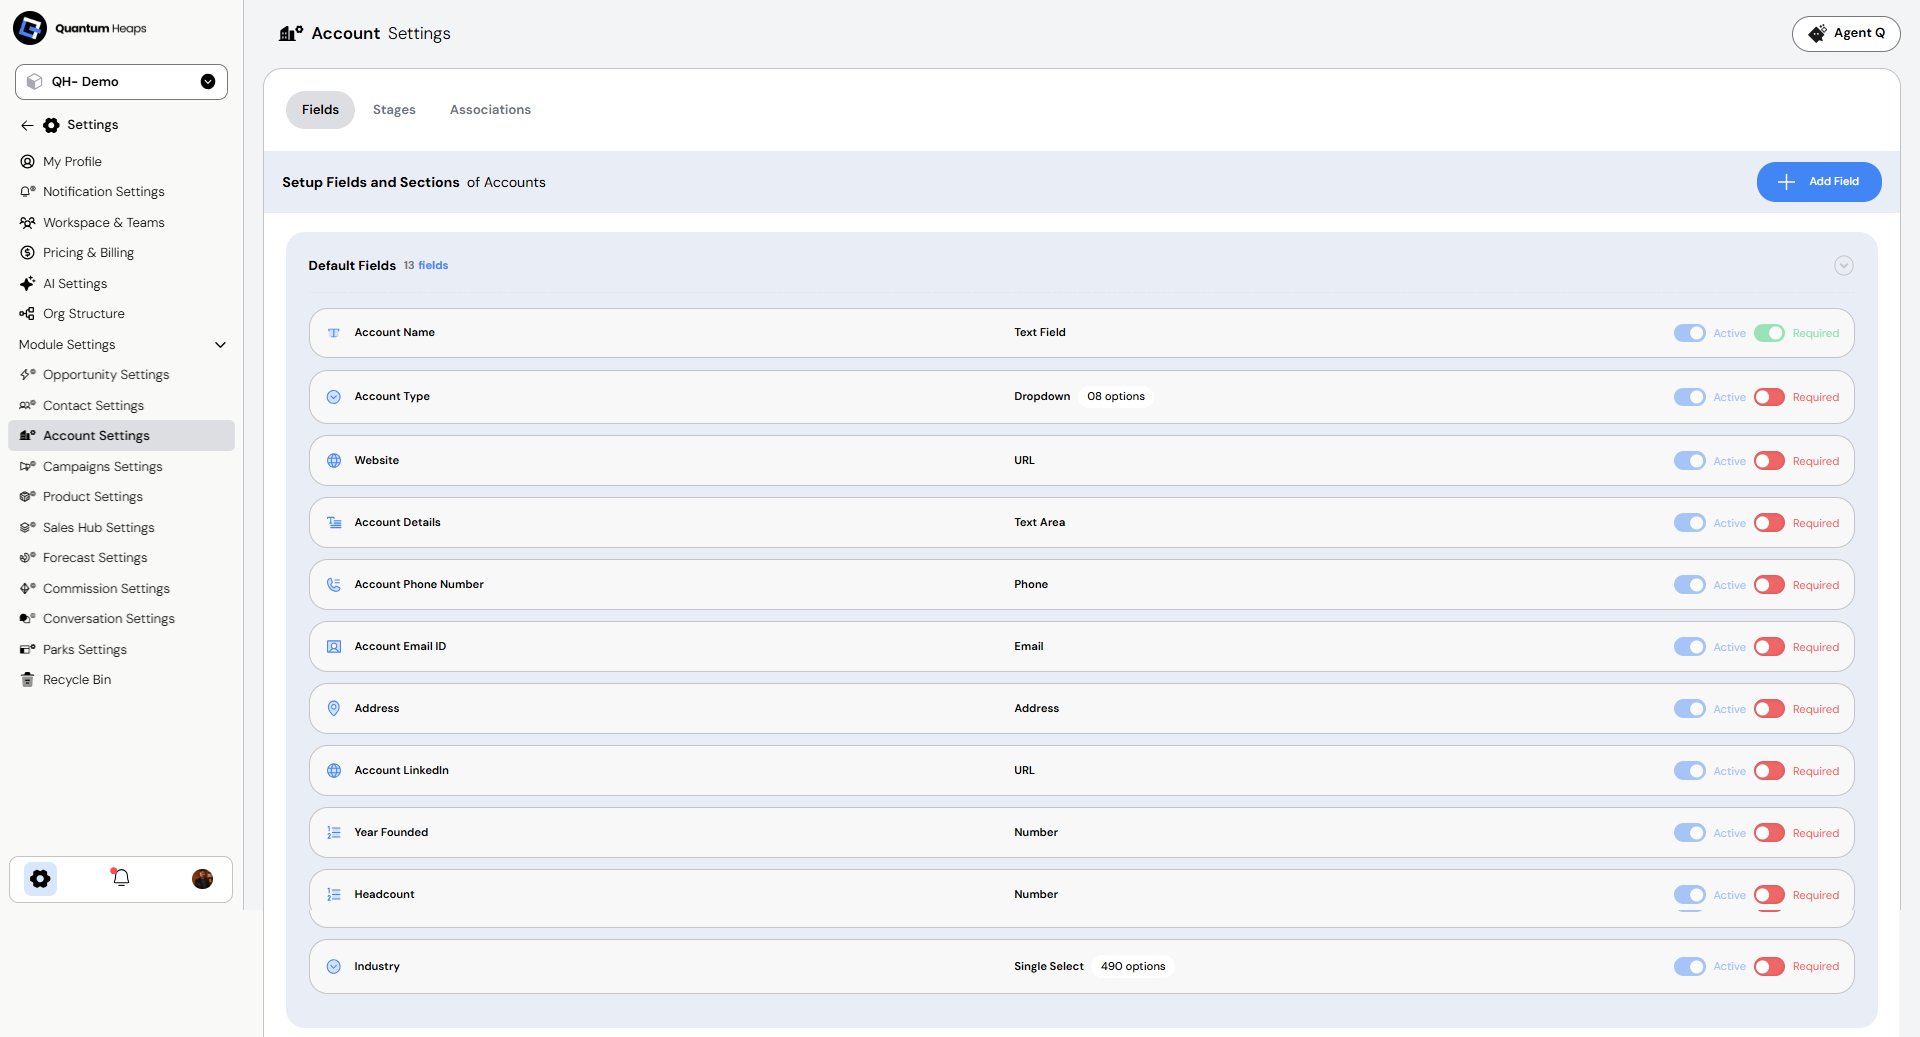
Understanding Stages in Quantum Heaps
Every account in Quantum Heaps moves through a stage — a status that tells you and your team where that account stands in your engagement process, at a glance. Quantum Heaps supports three account stage types: Lead, Qualified, and Archived.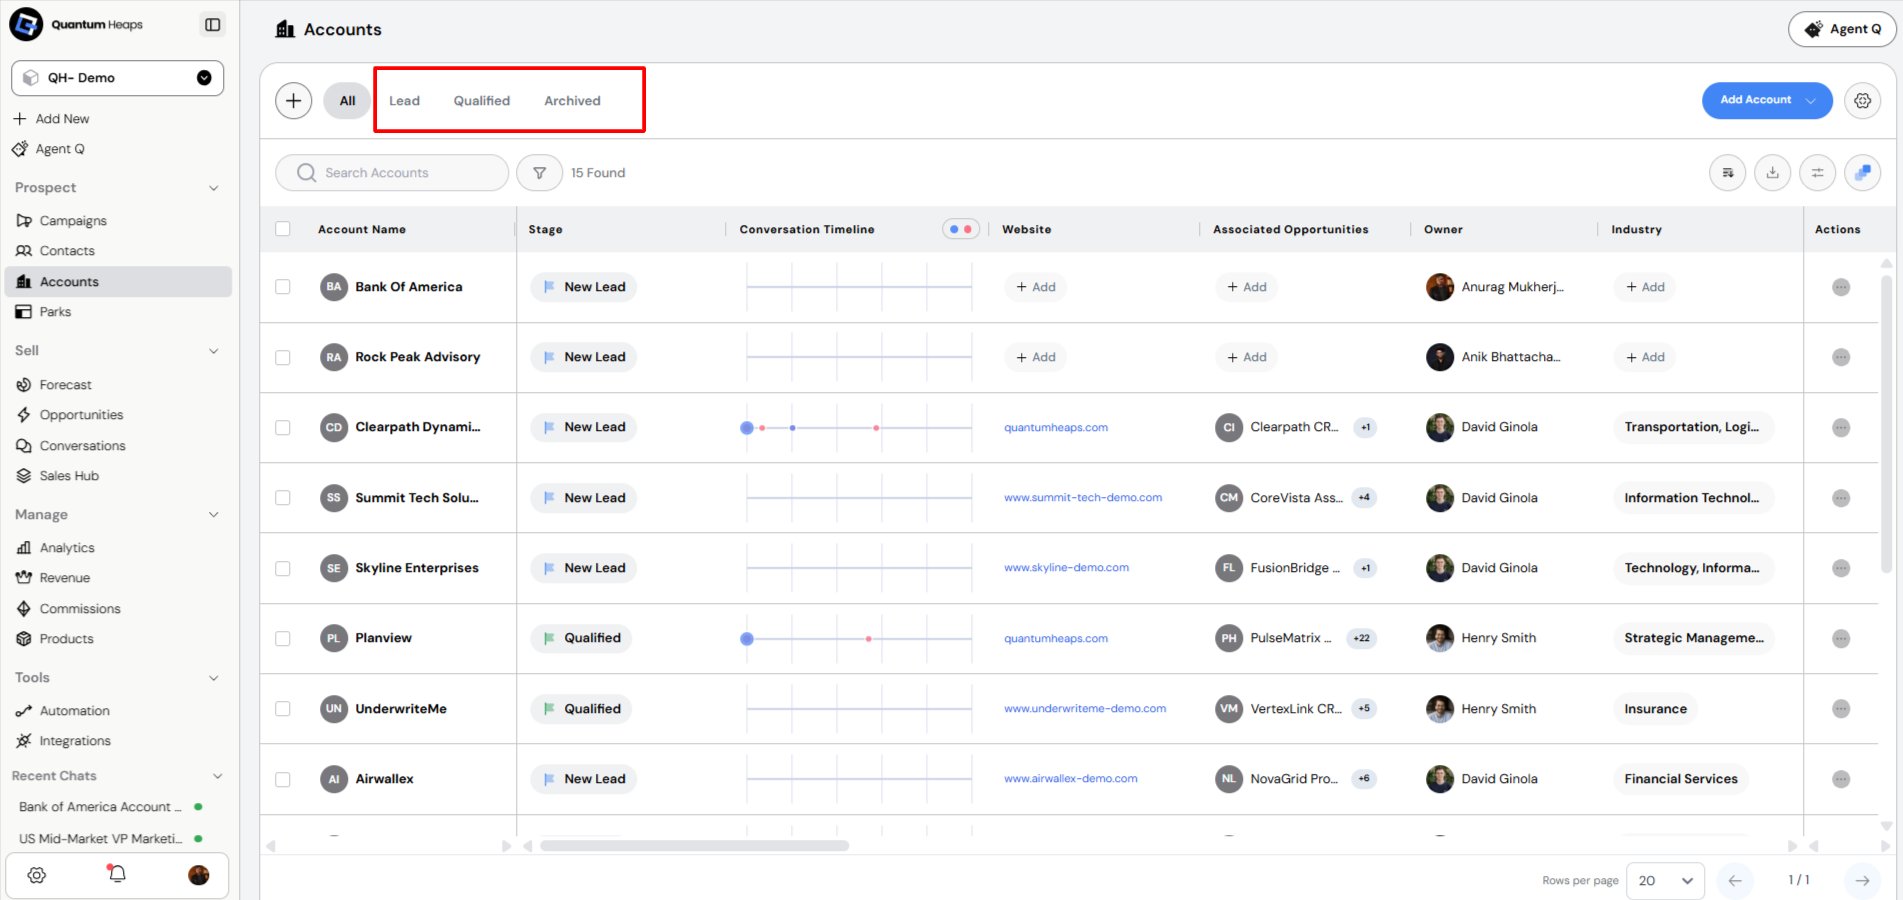
Manage Stage
Admins manage pipeline stages the same way, under Account Settings → Stages — each stage is tagged as Lead, Qualified, or Archived, and can be reordered or edited at any time. Users can also create custom stages as per the business requirements.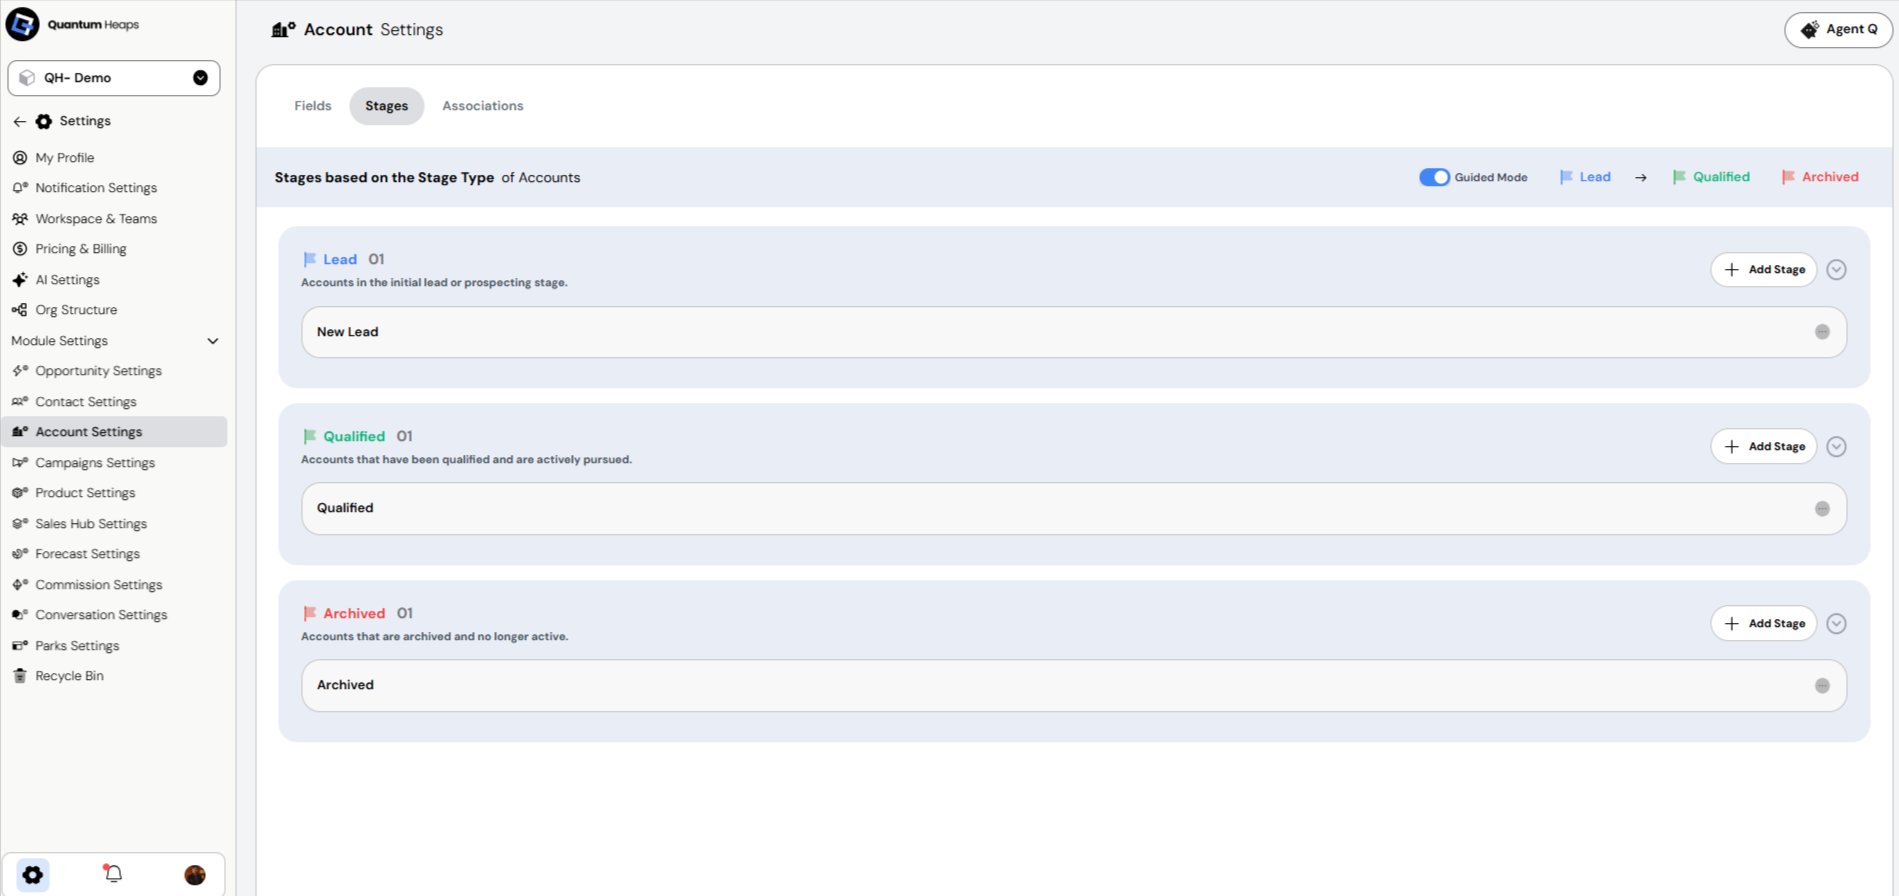
Bulk Actions
Select multiple accounts from the list to bulk edit a field, delete, assign a team member, change stage, or add a task/note — applied to every selected record in one step.Finding and Merging Duplicates
Click Manage Duplicates, choose a detection method — same email, same phone, or same custom field — review the matched groups, choose which values to keep, and merge. Closing the dialog without merging applies no changes. Or skip the manual review — ask Agent Q to find and merge duplicate accounts, and it’ll handle the detection and merge for you.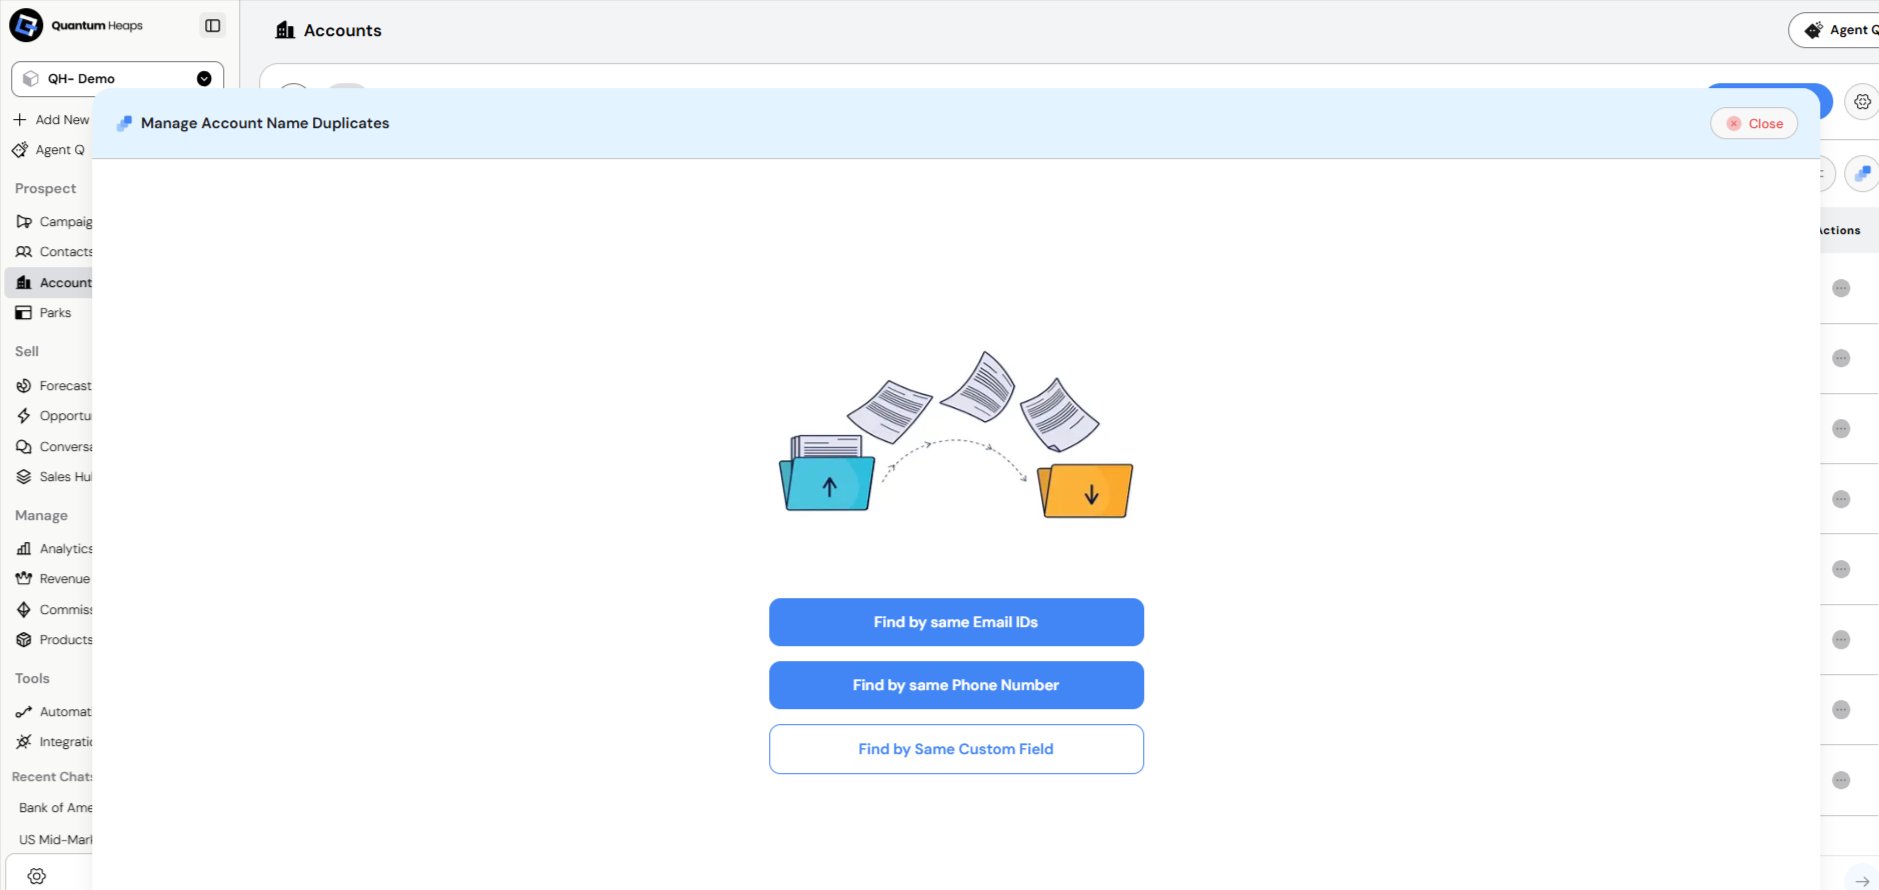
FAQ
General Q: What is an account in Quantum Heaps?A: The record representing a company your team sells to or supports. Every contact, opportunity, and interaction rolls up to an account, giving you one place to see who the company is, who’s involved, and where things stand. Q: What can I do with the Accounts module?
A: Track company-level details (industry, headcount, address, website, etc.), see every linked contact/opportunity/file/conversation, move accounts through pipeline stages, assign ownership, collaborate with teammates, and keep a full audit trail. Creating Accounts Q: What are the ways to add an account?
A: Three options:
- Find Company — search an external company database (name, website, employee count, revenue, location, tech stack) and pull a match in automatically
- Add Manually — fill in required fields yourself
- Import from a File — bulk upload via CSV/XLSX/XLS (up to 5 MB), as Accounts & Contacts or Accounts & Opportunities
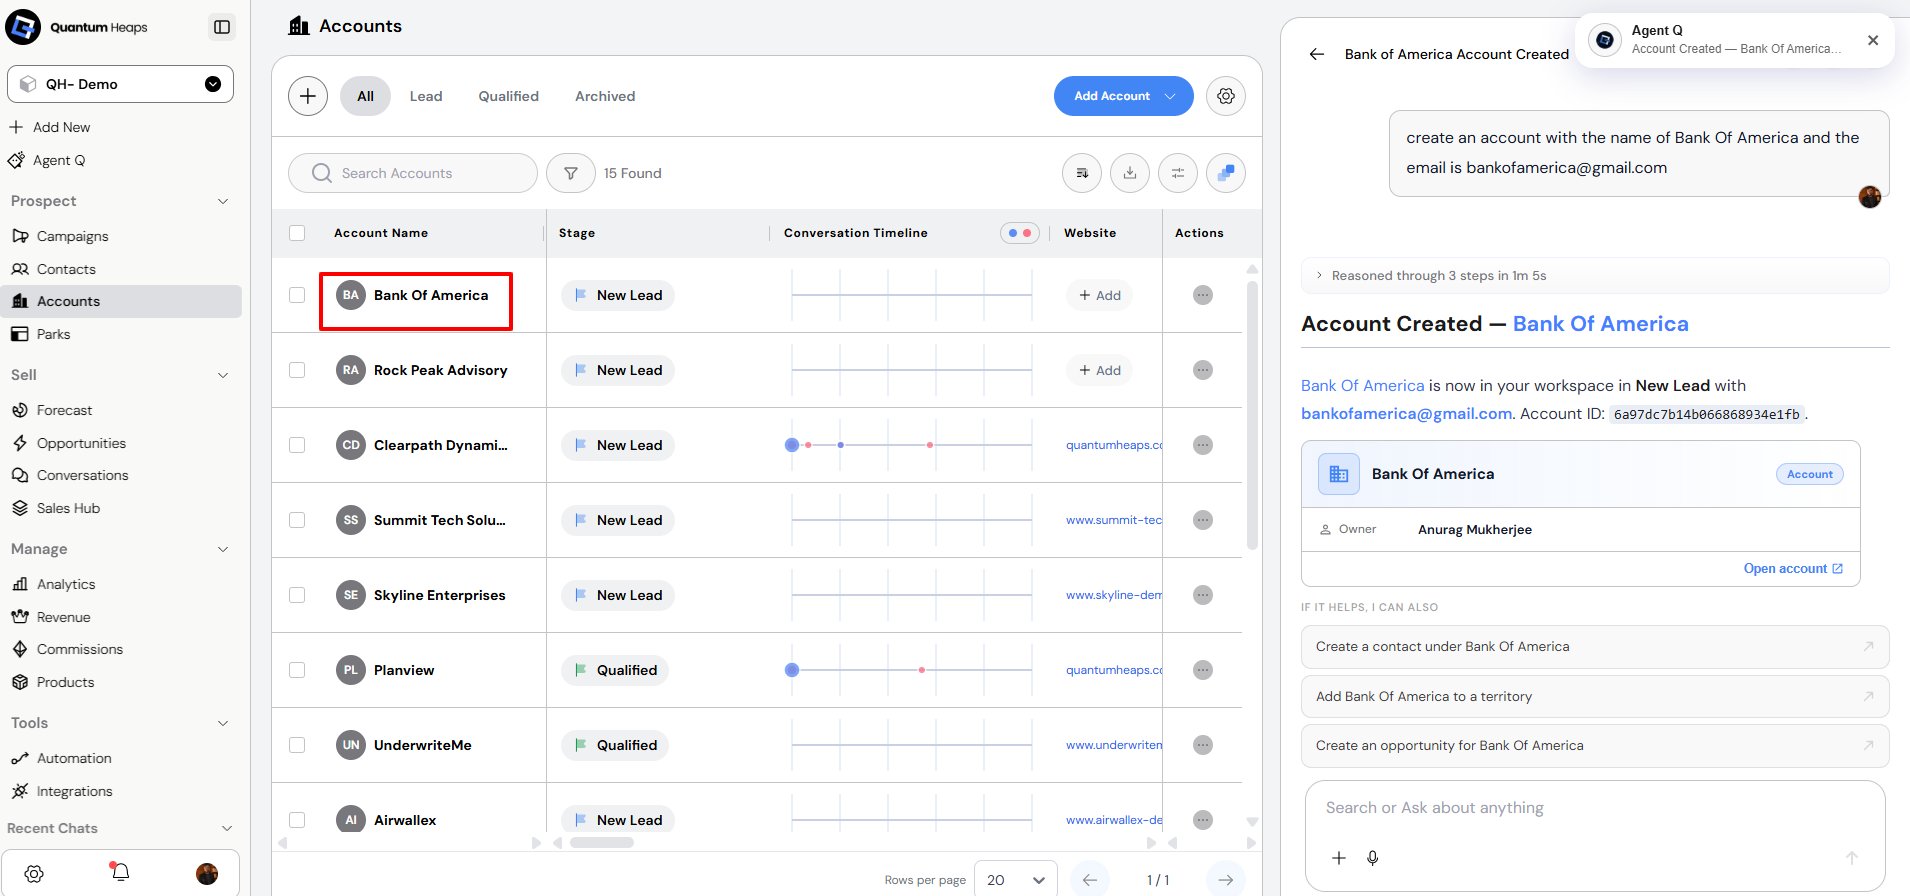
A: Account Stage and Account Name. Everything else — Website, Account Type, Phone, Email, Address, LinkedIn, Year Founded, Headcount, Industry, custom fields — is optional. You’re auto-assigned as owner, and Save & Add Another lets you keep creating accounts back-to-back. Q: Can Agent Q create accounts for me?
A: Yes. Give it the account name, a contact name, and the stage — Agent Q generates the record and links it to that contact and stage automatically.